Choosing a Clear Finish for my Kitchen Cabinets
We’re in the middle of our kitchen renovation, and I need to choose the best clear finish & stain for our maple kitchen cabinets. I’ve researched many options and tried to determine if I should choose a polyurethane, lacquer, shellac, or varnish.
Our Finish Priorities
We’re just your humble DIY homeowners, not professional cabinetmakers, but we still want a professional-looking and durable finish. I want to make sure that the finish is stain resistant and can hold up to a few cat scratches!
Priority #1: Compatibility with Maple Wood
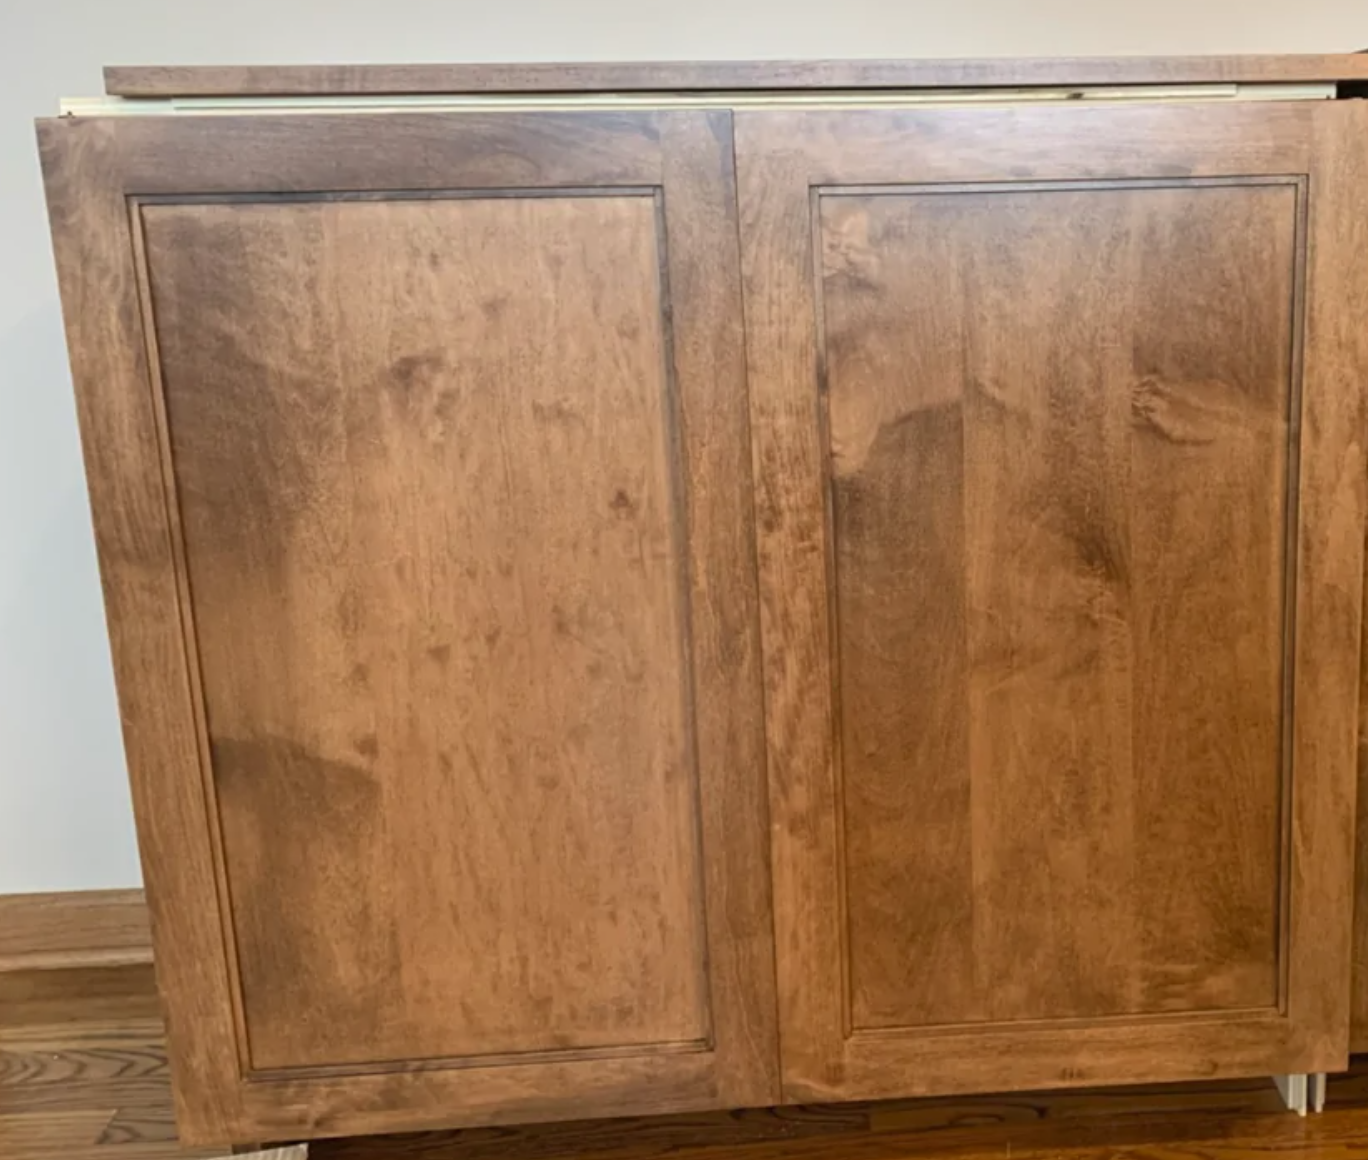
This image shows how blotchy maple stain can look.
Maple is beautiful, but it can be tricky to stain. Because the grain is so tight and smooth, stain can soak in unevenly and can look blotchy. On top of that, not every clear finish works with every stain. If the products are not compatible, it can lead to peeling, cloudiness, or yellowing. For us, the quality and the durability of the clear finish is the priority, so I’ll be selecting a compatible stain after I select the clear finish.
Priority #2: Matte Finish
Any clear finish that we choose needs to have a matte (no gloss, low sheen) finish, because I don’t like the look of a glossy wood finish for a kitchen – it can easily look dated and tacky.
Priority #3: Durable against Cat Scratches
I think we need a finish that is hard and smooth, without much texture from the natural wood grain. Our cat Macchiato LOVES to scratch raw wood, and if the finish looks too ‘natural’, I’m concerned that he will scratch the cabinets and get bits of the finish on his paws. Discouraging scratching and having a wipeable, durable finish are my top priorities. Although I do want the finish to be low-VOC, I am willing to sacrifice it for the perfect product.
Clear Finish Options

Water Poly
Water-based polyurethane: Easy to use (DIY-friendly!), can be applied with a brush, dries fast, and stays clear. Cons: Not as durable as catalyzed lacquer or conversion varnish, can be sticky if applied too thickly. Not as chemical or heat resistant as catalyzed finishes, may raise grain. Specific Products: General Finishes High Performance, Benjamin Moore Stays Clear Acrylic Polyurethane (W423), Bona Mega Clear HD, Varathane Water-Based Ultimate Polyurethane, Old Masters Interior Water-Based Polyurethane
Oil Poly
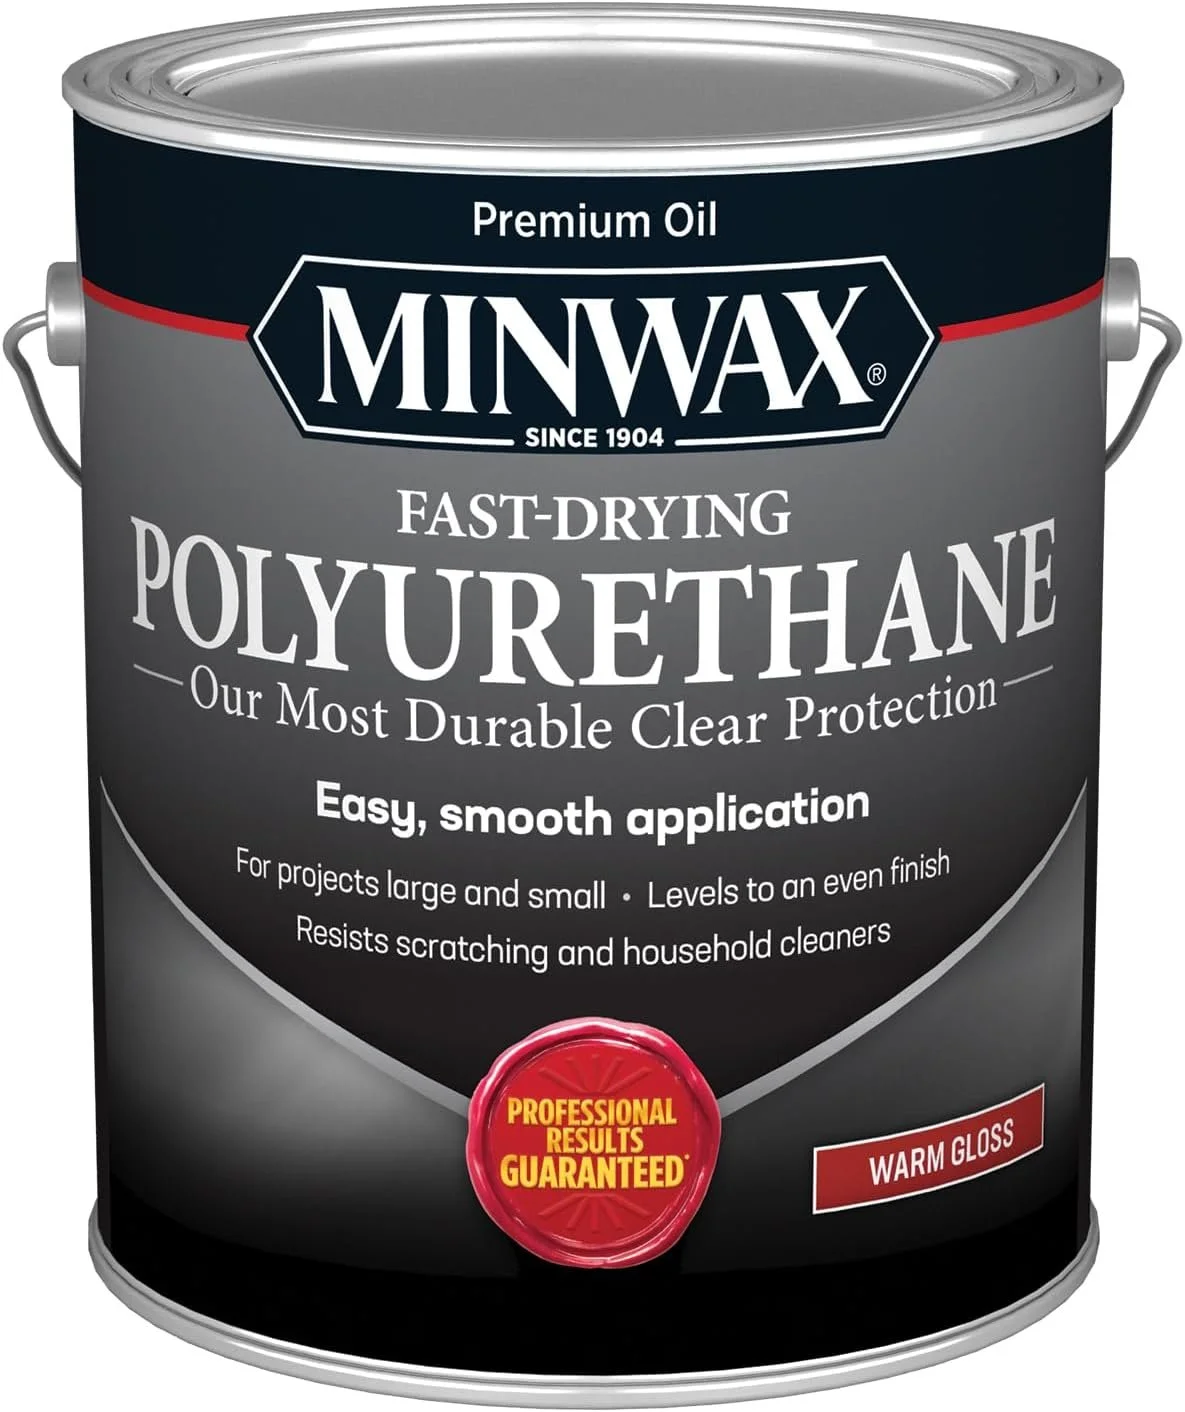
Oil-based polyurethane: A polyurethane resin in a solvent (mineral spirits) carrier. Adds warmth and depth. Typically brush-applied. Cons: It yellows over time, which I did not want on my light maple. It typically has higher VOCs than water-based polyurethanes and takes longer to cure. Specific Products: Minwax Fast-Drying Poly, Varathane Oil-Based Polyurethane
Hardwax Oil
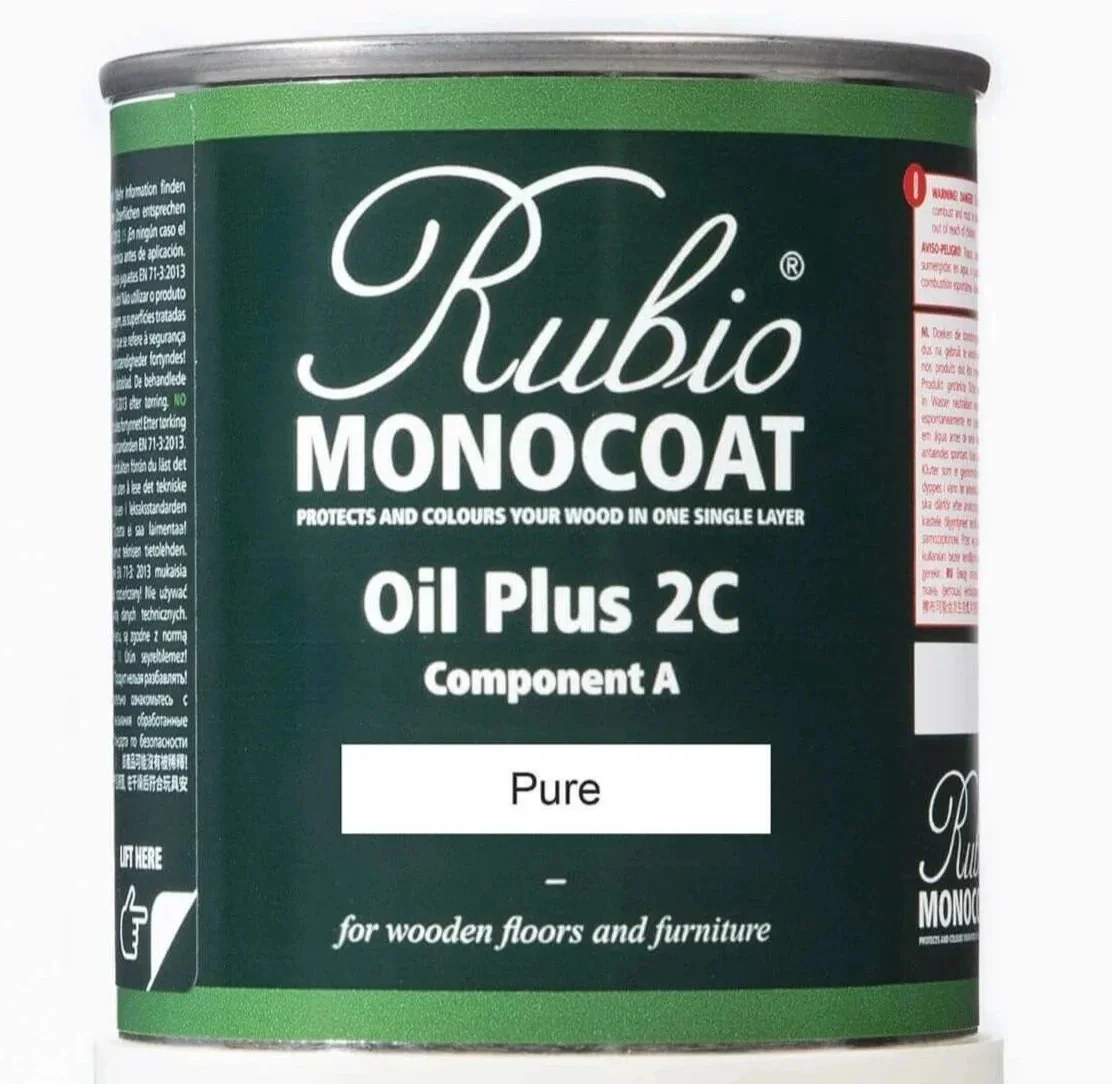
Hardwax Oil (Natural Finish): Typically made of a linseed oil base. Natural matte look, easy spot repair, low VOC, eco-friendly. May require fewer coats. Cons: Not as durable as conversion varnish or polyurethane in kitchens, requires periodic maintenance or re-oiling. Specific Products: Rubio Monocoat, Osmo Polyx-Oil, Fiddes Hard Wax Oil

Shellac
Shellac: This is a finish derived from a natural resin (lac bug) dissolved in alcohol. Very fast drying; easy to repair; good adhesion to many finishes; food-safe when cured Cons: poor resistance to water, alcohol, heat; not ideal alone for high-wear surfaces such as floors. Shellac is not vegan and may be associated with deforestation. Specific Products: Zinsser Shellac
Varnish
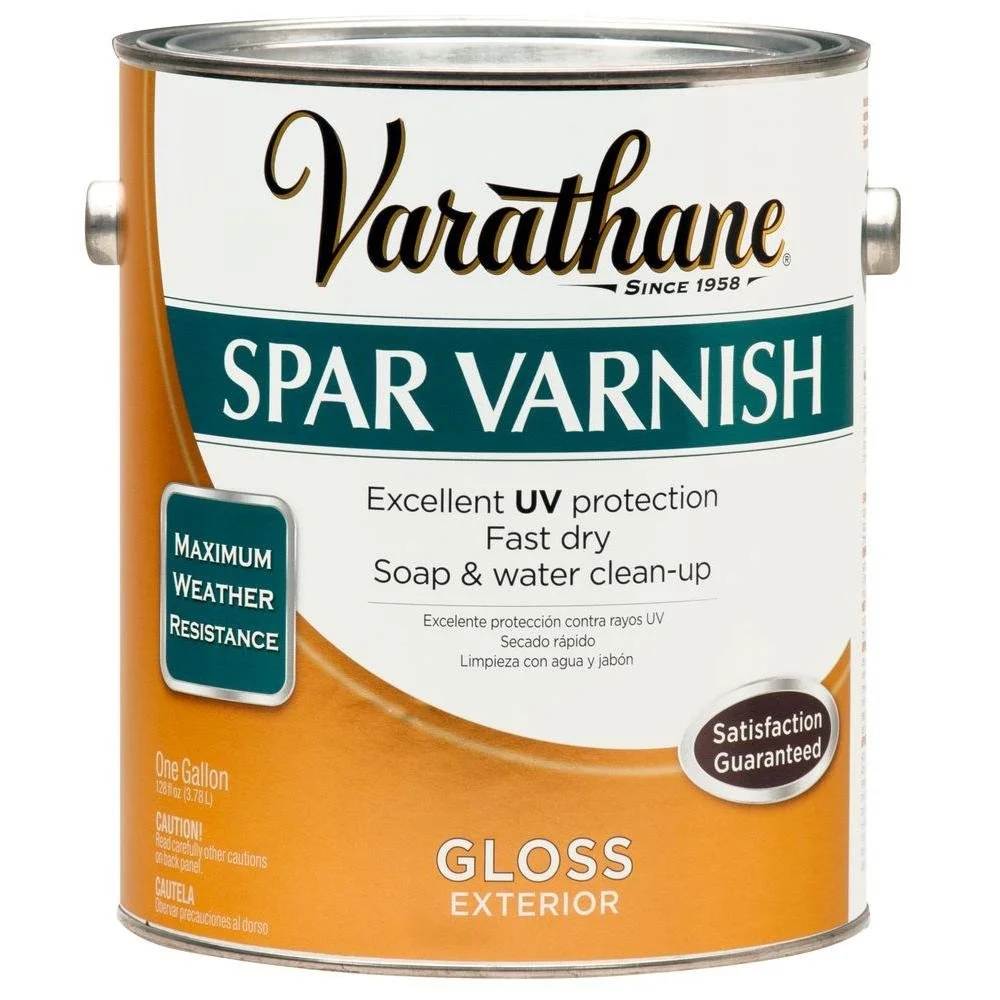
Varnish / Spar Varnish (Alkyd resin based): Alkyd (oil-modified) resin + solvent, often with UV stabilizers (for “spar” types, which traditionally indicates marine usage). Good for exterior / moisture stability; flexible (resists check / crack). Typically applied with a brush. Cons: Slower drying; may amber; not always as “hard” as polyurethane. Specific Products: Varathane Spar Varnish, Amor Coat Spar Varnish
Spray Lacquer
Lacquer (non-catalyzed): Typical lacquer comes in standard types of nitrocellulose or CAB-Acrylic Lacquer. Nitrocellulose will yellow over time, while CAB-Acrylic won’t yellow the woods and is more durable. Cons: Some products need to be sprayed, which requires a professional set-up (exhaust, spray booth, respirator) and controlled temperature and humidity during application. Not as durable as a catalyzed product. Specific Products: Deft Brushing Lacquer, Target Coatings EM6000, Watco Clear Lacquer.

Pre-cat Lacquer
Pre-catalyzed lacquer: A catalyst cures the lacquer chemically, making it a stronger and more chemical-resistant finish. Pre-catalyzed means that the catalyst is added at the factory. Cons: The product needs to be sprayed, which requires a professional set-up (exhaust, spray booth, respirator) and controlled temperature and humidity during application. The product also has a limited shelf life due to the catalyst. The finish takes a week to a month to fully cure. Specific Products: Mohawk Finishing Products Pre-Cat Lacquer, Sher-Wood Hi-Bild Pre-Cat Lacquer

Post-cat Lacquer
Post-catalyzed lacquer: You add the catalyst at the time of application. More durable than pre-catalyzed lacquer. Cons: This product has the same cons as pre-catalyzed lacquer. Because the catalyst is added by the user, there’s more room for error than with a pre-catalyzed lacquer. Short pot shelf life (2-4 hours) after the catalyst is mixed. Specific Products: ML Campbell Duravar, Becker Acroma, Sher-Wood Kemvar Post-Cat

2k Poly
2K polyurethane: This is a post-catalyzed version of polyurethane. Extremely durable and flexible. Considered commercial grade.I consistently saw this product recommended on woodworking forums as superior to catalyzed lacquers. Cons: Short pot shelf life (2-4 hours) after the catalyst is mixed. More difficult to work with than post catalyzed or precatalyzed lacquer. Specific Products: General Finishes Enduro Tintable 2K Clear Poly, Centurion 2K Polyurethane Topcoat 2800 Series, AFM Safecoat Pro 2K Urethane.
Conversion Varnish
Conversion varnish (also known as “catalyzed” varnish): Extremely tough, highly resistant to water and heat, and available in a matte finish. Cons: Similar spray application requirements to catalyzed lacquers, but harder to repair than catalyzed lacquer finishes. As with post-catalyzed lacquer, the user must mix two components in the shop. Specific Products: Mohawk Ultra Clear Post‑Catalyzed Conversion Varnish, General Finishes 2K Conversion Varnish, EMTECH EM8000CV, DuraVar Conversion Varnish, M.L. Campbell Klearvar Conversion Varnish, Gemini Conversion Varnish, Becker Acroma CV, Sherwin-Williams Kemvar Plus.
My Choice: Matte 2K Polyurethane
In the end, I’m planning to apply a professional-grade 2k polyurethane, which is a catalyzed finish. It’s one of the most durable options(resistant to both scratching and staining) and there are low-VOC options available. Although it requires a professional spray set up (HVLP sprayer, respirator, and dust-free spray booth), it seems like it is more forgiving than a post-catalyzed lacquer or conversion varnish.
Will it be easy? Definitely not! There are so many specific requirements about how to prepare for finishing, how to mix the finish, the necessary temperature and humidity, and how to apply the finish. IF we mess this up, we might have to end up painting all our cabinets… which would not be fun. So we’re going to do a test panel to make sure we are able to execute the finish, before finishing everything.
Application How-To:
Here’s what I’ve gathered about how to apply 2k Polyurethane successfully.
Substrate Preparation
The substrate must be clean, dry & dust-free. Residues (oils, silicone, wax, surface contaminants) can interfere with adhesion or curing.
The substrate must be properly sanded. Fine grain woods like maple should be 220# grit (but no finer).
Scuff sanding between coats helps adhesion.
Mixing the Catalyst
Stir Part A (base) thoroughly first.
Add Part B (hardener) in the correct quantity and mix slowly for 2–3 minutes.
Add thinner/reducer if required (usually 5–15%) after mixing.
Let sit if induction time (letting the mix sit before spraying) is specified (10–15 min).
Use within pot life (typically 2–4 hours).
Safety Gear
Use proper ventilation, respiratory protection (organic vapor respirator), gloves, and eye protection.
Because the finish is reactive and solvent-based, dedicated stainless or corrosion-resistant spray systems are preferred.

Spray Application
Apply via spray (HVLP, air-assisted, conventional)
Lightly sand between coats with 320–400 grit once dry (usually 45–90 minutes).
Remove dust with tack cloth or compressed air before recoating.
Apply multiple thin coats rather than thick builds. A typical target: ~3–4 wet mils per pass.
Some thinning with specified solvents (xylene, toluene) may help flow or leveling, as directed by the manufacturer.
Clean the spray equipment promptly before the finish cures in the lines.
Cure / post-treatment
Maintain stable temperature and humidity during drying and curing (often “upper 60s to low 70s °F” recommended).
Allow enough cure time before heavy use—many hours to days depending on product.
Avoid application of more coats beyond recommended number to prevent crack risk.
Matching and repair considerations
Because the finish cures by chemical crosslinking, sanding and blending new coats is more difficult than with simpler finishes.
For touch-up, scuff sanding and localized blending are typical approaches.
Color shifts over time (e.g. slight ambering) may make repairs noticeable.
Testing & verification

Always test on sample pieces (same wood, stain, sealer layers) to confirm compatibility, color, and cure behavior before full application.
Monitor film thickness, adhesion, and cure performance per manufacturer guidelines.
Final Thoughts
If you are finishing any cabinets, my advice is to compare durability, sheen, stain/finish compatibility, and application capabilities. For my kitchen, I think that a matte 2k polyurethane will give me the best result: a low-sheen finish that looks beautiful and performs well against stains and scratches.
I’m planning to update the blog with the results of our process of finishing our cabinets, so stay tuned!
Sources:
https://www.popularwoodworking.com/finishing/catalyzed-finishes/
https://www.woodmagazine.com/woodworking-tips/techniques/finishing/lacquer